

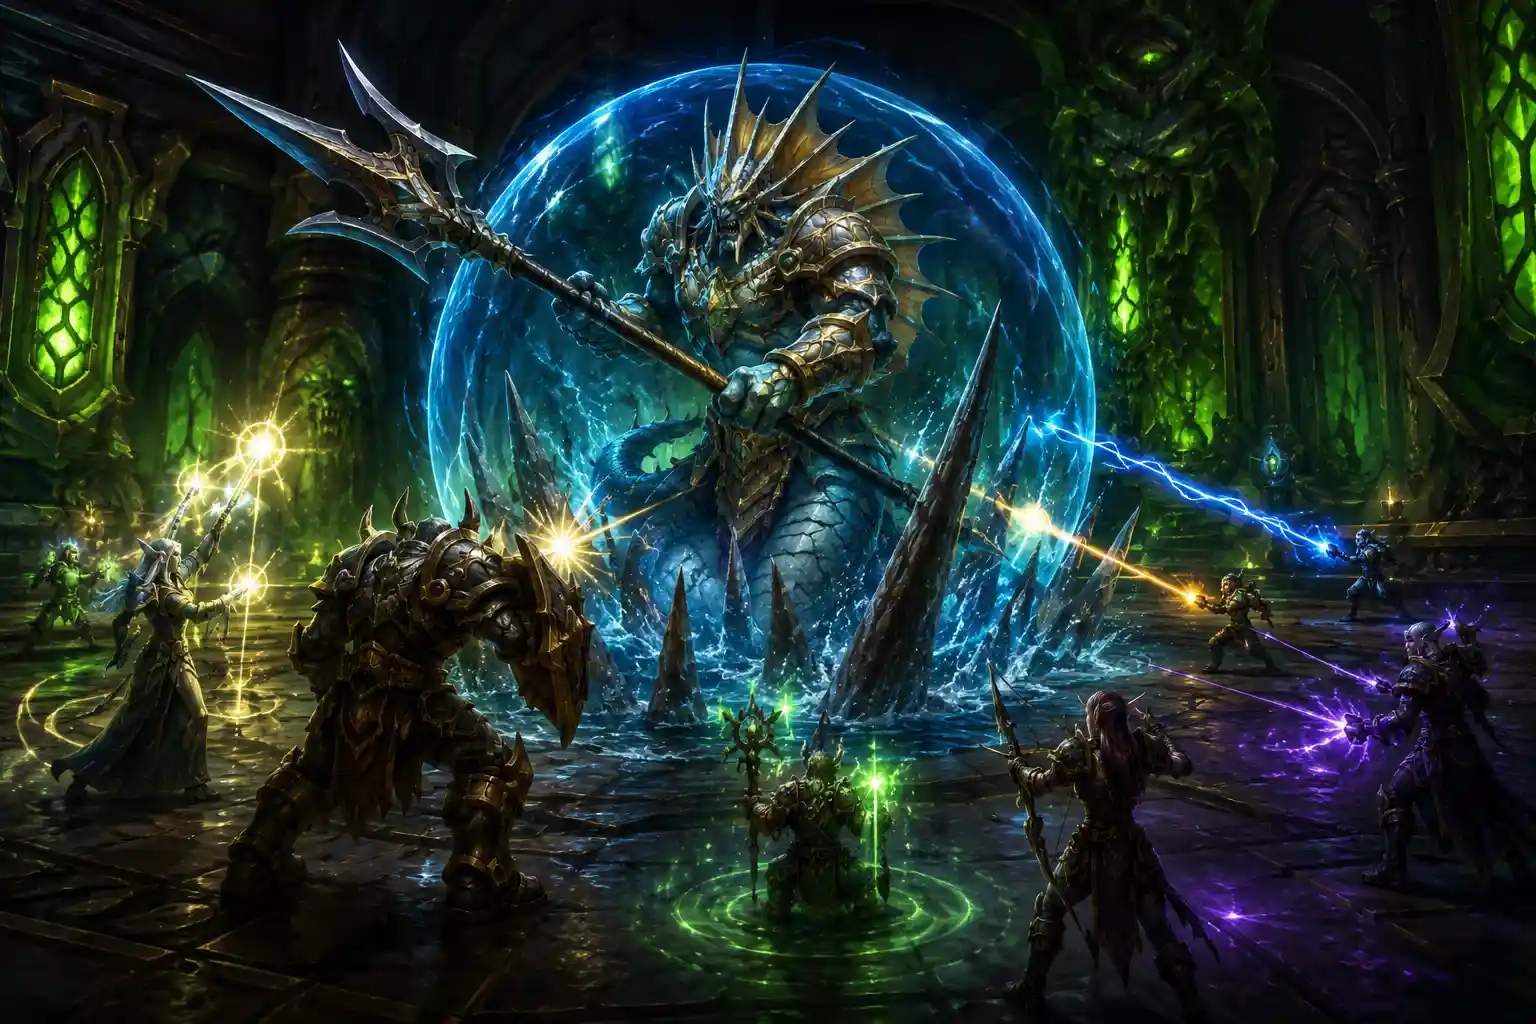
High Warlord Naj'entus is the first major boss encounter inside Black Temple and an important introduction to the raid's coordination requirements in WoW The Burning Crusade. The fight is mechanically straightforward compared with some of the later encounters, but poor positioning, slow reactions to Impaling Spine, or badly timed healing around Tidal Shield can quickly turn an otherwise controlled attempt into a wipe.
This guide focuses specifically on the High Warlord Naj'entus strategy, including positioning, tanking, DPS priorities, healing responsibilities, important mechanics, consumables, and common mistakes. For preparation, raid composition, boss progression, and the rest of the instance, see our complete Black Temple guide for WoW TBC.
High Warlord Naj'entus Encounter Overview
Naj'entus is primarily a coordination and raid-healing encounter. Your group needs to maintain stable positioning while reacting quickly whenever a player is affected by Impaling Spine.
The encounter revolves around two major ideas:
- Free players affected by Impaling Spine as quickly and safely as possible.
- Prepare the entire raid before breaking Tidal Shield and triggering heavy raid-wide damage.
Once these mechanics are handled consistently, the encounter becomes significantly easier. Raw DPS helps shorten the fight, but execution is much more important during progression.
Recommended Raid Positioning
Naj'entus should generally be positioned in a stable location with the tank controlling the direction he faces. The rest of the raid should spread around the encounter area while remaining close enough for healers to maintain reliable coverage.
Players should avoid stacking unnecessarily because several mechanics can make tightly packed positioning more dangerous. At the same time, spreading too far apart can create healing and reaction problems.
The goal is controlled spacing rather than maximum distance.
Positioning Priorities
- The main tank should keep Naj'entus stationary whenever possible.
- Melee players should remain behind or beside the boss as appropriate.
- Ranged DPS should maintain enough space to react comfortably.
- Healers should position so they can reach both the tank and most raid members.
- Players should remain aware of nearby raid members affected by Impaling Spine.
Good positioning reduces unnecessary movement and allows the raid to respond to mechanics without disrupting damage or healing.
Impaling Spine: The Most Important Reaction Mechanic
During the encounter, Naj'entus can impale a raid member with a spine. The affected player needs assistance from another raid member before normal progression can continue safely.
The key is reacting quickly without creating confusion.
When someone is impaled, a nearby player should remove the spine as soon as possible. Raid members should be prepared for this responsibility instead of assuming someone else will handle it.
How to Handle Impaling Spine Properly
- Identify the affected player immediately.
- A nearby raid member moves to the target and removes the spine.
- The raid retains the resulting item for the upcoming Tidal Shield mechanic.
- Healers quickly stabilize the affected player.
- Everyone returns to normal positioning.
The raid should avoid having several players stop what they are doing and run toward the same target. The closest suitable player should normally handle the mechanic.
Tidal Shield Strategy
Tidal Shield is the most important coordination point of the Naj'entus fight.
When Naj'entus activates the shield, normal damage against the boss is interrupted until the raid uses one of the collected spines to break it.
Breaking the shield causes significant raid-wide damage, which means the raid should never trigger it carelessly.
Before Breaking Tidal Shield
Raid leaders and healers should quickly evaluate the raid's health before the shield is removed.
Ideally:
- The majority of raid members should be at safe health levels.
- Healers should be ready for immediate raid-wide healing.
- Players should not be standing in dangerous positions.
- The tank should be stable.
- The raid should know who is responsible for breaking the shield.
Breaking Tidal Shield while several players are already low on health is one of the easiest ways to lose raid members unnecessarily.
After the Shield Breaks
Healers should immediately prioritize stabilizing the raid after the burst of damage. DPS players should avoid unnecessary movement or risky actions while healers recover the group.
Once the raid is safe, normal damage can resume.
Tank Strategy for High Warlord Naj'entus
The tanking portion of the encounter is relatively straightforward, but consistency is still important.
The main tank should establish threat quickly and keep Naj'entus in a predictable position. Unnecessary movement can disrupt melee positioning and make raid organization more difficult.
Main Tank Priorities
- Establish strong threat immediately.
- Keep the boss facing away from unnecessary raid targets.
- Avoid unnecessary repositioning.
- Use defensive cooldowns if incoming damage becomes dangerous.
- Communicate if healing coverage becomes unreliable.
Naj'entus should not normally require complicated tank swaps, allowing tanks to focus on threat, mitigation, and maintaining stable positioning.
DPS Strategy for Naj'entus
DPS players should maintain consistent damage while remaining ready to handle raid mechanics.
This is not a fight where maximizing every possible second of uptime is more important than execution. A player who loses several seconds of damage to correctly handle Impaling Spine is contributing more to the raid than someone who ignores the mechanic.
Melee DPS Tips
- Stay in a consistent position around the boss.
- Avoid unnecessary movement.
- Watch nearby players for Impaling Spine.
- Do not ignore mechanics to maintain your rotation.
- Be prepared for the raid-wide damage caused by breaking Tidal Shield.
Ranged DPS Tips
- Maintain controlled spacing from other raid members.
- Remain within reliable healing range.
- Help remove Impaling Spine when you are the closest appropriate player.
- Resume damage quickly once Tidal Shield has been handled.
- Save personal defensive tools when they can help during heavy raid damage.
Because the encounter does not demand constant target switching, players should be able to maintain strong sustained damage as long as mechanics are handled correctly.
Healing Strategy for High Warlord Naj'entus
Healers carry a large amount of responsibility during this encounter because Tidal Shield creates predictable periods of intense raid-wide damage.
The most important healing principle is preparation. Healers should know when the shield is about to be broken and begin preparing before the damage occurs rather than reacting several seconds afterward.
Tank Healing
The main tank still requires consistent attention throughout the encounter. Raid healing mechanics should not cause every healer to abandon tank coverage at the same time.
Assigning one or more healers primarily to the tank while others prepare for raid damage can make the encounter considerably more stable.
Raid Healing
Raid healers should monitor the group's health closely before Tidal Shield is removed.
If several players are already low, communicate before triggering the shield break. A short delay to stabilize the raid is usually better than immediately breaking the shield and losing players.
Healing After Tidal Shield
Once the shield breaks, prioritize survival over perfect efficiency.
The raid has just taken predictable burst damage, so this is the moment to use appropriate healing cooldowns and fast-response abilities if necessary.
After the immediate danger passes, healers can return to more efficient healing and prepare for the next cycle.
Who Should Remove Impaling Spine?
The raid does not need an overly complicated system for every Impaling Spine.
A practical approach is for the closest available player to handle it while everyone remains aware of their surroundings.
However, raid leaders should make one rule very clear: somebody must react immediately.
Common progression problems occur when every player assumes another person will handle the mechanic. This creates unnecessary delays and puts the affected player at greater risk.
Who Should Break Tidal Shield?
It is usually better to have a clear player or small group of players responsible for using the collected spine to break Tidal Shield.
This prevents accidental shield breaks before healers are ready.
The sequence should be simple:
- Tidal Shield appears.
- Raid health is checked.
- Healers prepare.
- The designated player breaks the shield.
- Raid healing immediately follows.
Simple and repeatable execution is better than improvisation.
Consumables for Naj'entus
Naj'entus is the opening Black Temple encounter, so players should already have their normal raid consumables active before pulling.
Exact choices depend on class and specialization, but players should generally arrive with:
- An appropriate flask or elixir combination.
- Class-specific food buffs.
- Mana or healing consumables where relevant.
- Weapon enhancements.
- Necessary class reagents.
- Personal defensive consumables when useful.
Do not waste progression time discovering that important consumables or reagents are missing after the raid has already entered Black Temple.
Cooldown Management
Naj'entus does not normally require complicated cooldown planning, but defensive and healing cooldowns can provide additional safety around Tidal Shield.
Rather than using every cooldown immediately at the start of the fight, players should understand where each ability provides the most value.
Healers may want additional tools available after a shield break, while tanks should preserve defensive cooldowns for unexpected damage spikes or moments when healing coverage becomes strained.
Common High Warlord Naj'entus Mistakes
Most wipes on Naj'entus come from execution problems rather than an unusually difficult damage requirement.
Breaking Tidal Shield Too Early
If the shield is removed while several raid members are already low on health, the resulting burst damage can immediately kill them.
Always allow healers enough time to stabilize the raid.
Slow Reactions to Impaling Spine
Leaving a player impaled longer than necessary increases pressure on healers and disrupts the raid's rhythm.
Nearby players should react immediately.
Poor Raid Spacing
Players spreading too far apart can create healing problems, while stacking unnecessarily can make movement and awareness more difficult.
Maintain practical spacing without leaving healer range.
Ignoring Mechanics for More DPS
Naj'entus is not a fight where individual damage numbers should take priority over mechanics.
A player who reacts correctly to Impaling Spine may lose a few seconds of damage, but they help prevent much larger losses for the raid.
Poor Communication Before Shield Breaks
If healers are not prepared for the shield break, the raid can take heavy damage before recovery begins.
A short raid-leader call before breaking Tidal Shield can dramatically improve consistency.
Naj'entus Strategy by Role
Tanks
- Establish reliable threat.
- Maintain stable boss positioning.
- Avoid unnecessary movement.
- Coordinate with tank healers.
- Use defensive cooldowns when needed.
Healers
- Keep the tank stable throughout the encounter.
- Watch players affected by Impaling Spine.
- Prepare before Tidal Shield is broken.
- Recover raid health quickly after the shield break.
- Communicate if the raid is not healthy enough to trigger the mechanic safely.
DPS
- Maintain consistent damage on Naj'entus.
- React quickly to Impaling Spine.
- Respect raid positioning.
- Do not prioritize damage meters over mechanics.
- Use defensive abilities when heavy raid damage occurs.
High Warlord Naj'entus Progression Tips
If your raid is struggling with Naj'entus, avoid making unnecessary changes to the entire strategy after every attempt.
Instead, identify exactly what caused each wipe.
Ask questions such as:
- Were players dying because Impaling Spine was handled too slowly?
- Was Tidal Shield broken while raid health was too low?
- Were healers prepared for the shield break?
- Were players too spread out for reliable healing?
- Was tank damage actually the problem?
- Did players use personal defensive abilities when appropriate?
Once the raid identifies the real failure point, correction is usually straightforward.
How Difficult Is Naj'entus Compared With Other Black Temple Bosses?
Naj'entus is generally one of the more accessible Black Temple encounters and serves as a useful introduction to the instance.
The fight does not contain the same level of individual responsibility seen later with Teron Gorefiend, the sustained healing pressure of Gurtogg Bloodboil, or the multi-phase complexity of Illidan Stormrage.
However, that does not mean the encounter should be underestimated.
Naj'entus teaches several habits that remain important throughout Black Temple: reacting quickly to mechanics, maintaining stable positioning, preparing for predictable raid damage, and putting raid execution ahead of personal damage numbers.
Naj'entus Quick Strategy Summary
For a quick reminder before pulling:
- Tank Naj'entus in a stable position.
- Spread the raid without moving outside reliable healing range.
- Remove Impaling Spine quickly when a player is affected.
- Keep the resulting spine for Tidal Shield.
- Do not break Tidal Shield while the raid is at dangerously low health.
- Prepare healing before triggering the shield break.
- Immediately recover raid health afterward.
- Prioritize mechanics and survival over damage meters.
Defeating High Warlord Naj'entus
High Warlord Naj'entus becomes a consistent kill once the raid establishes a reliable rhythm. The tank maintains stable positioning, nearby players react immediately to Impaling Spine, healers prepare for predictable raid damage, and Tidal Shield is only broken when the group is ready.
The encounter is an excellent first test for Black Temple because it rewards communication and discipline without overwhelming players with too many simultaneous mechanics.
Once Naj'entus is defeated, the raid can move deeper into Black Temple and begin dealing with encounters that place increasingly greater pressure on movement, class roles, individual responsibility, and coordination. For the full progression path, preparation advice, raid composition, and strategies for the remaining encounters, continue with our Ultimate Black Temple Guide for WoW TBC.



There are no approved comments yet. Be the first to leave one.