

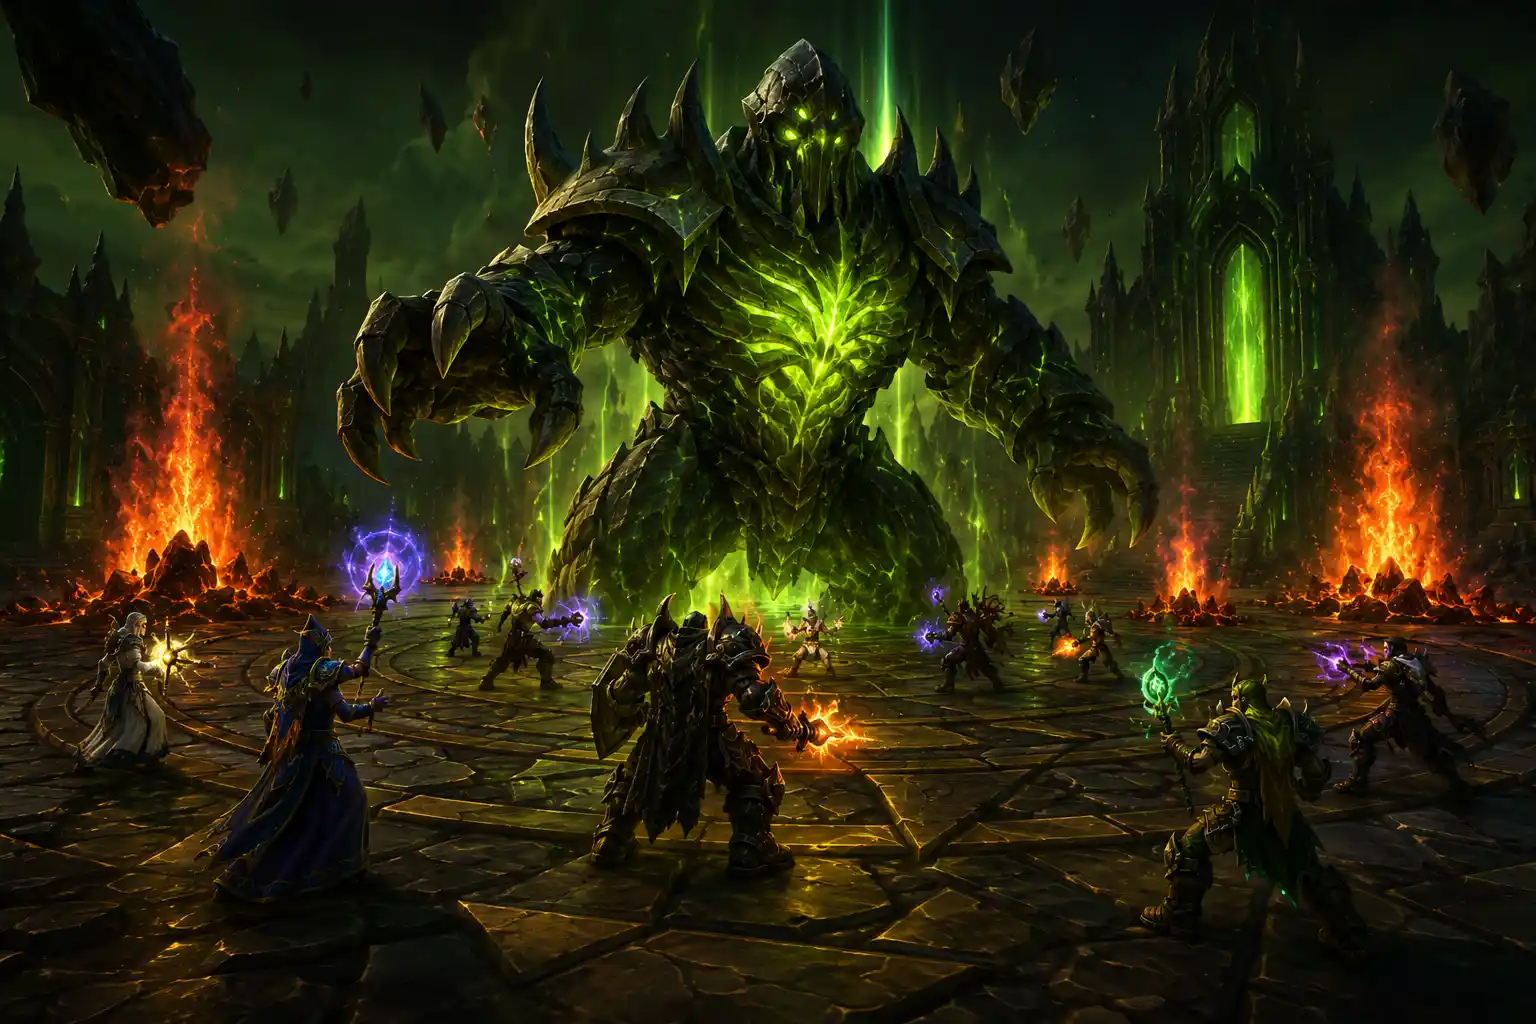
Supremus is the second major boss encounter in Black Temple and one of the first fights in WoW The Burning Crusade where movement and environmental awareness become just as important as damage output. After defeating High Warlord Naj'entus, raids face a very different challenge: a massive boss that alternates between a controlled tanking phase and a movement-heavy phase where players must react quickly to targeting, volcanoes, and dangerous ground effects.
This Supremus strategy guide focuses on the encounter mechanics, positioning, tanking, healing, DPS responsibilities, useful class roles, raid composition, and common progression mistakes. For preparation, complete boss progression, class recommendations, and strategies covering the entire instance, see our complete Black Temple guide for WoW TBC.
Supremus Encounter Overview
The Supremus encounter alternates between two distinct phases. Understanding the difference between them is the foundation of the entire fight.
- Phase One: Supremus is controlled by the tanks while the raid maintains stable positioning and deals consistent damage.
- Phase Two: Supremus becomes much more mobile, focuses on different players, and forces the raid to react to movement mechanics and environmental hazards.
The encounter repeatedly switches between these phases until Supremus is defeated.
Phase One rewards threat management and predictable positioning. Phase Two rewards awareness, movement, and survival. Players who understand when to stop prioritizing damage and start prioritizing movement will find the encounter considerably easier.
Recommended Raid Setup for Supremus
Supremus does not require one perfect raid composition, so groups should avoid rebuilding their entire roster specifically for this encounter.
A balanced Black Temple raid with reliable tanks, sufficient healing, strong ranged and melee damage, and useful raid utility should be able to defeat him.
The raid should prioritize:
- Reliable tanks capable of maintaining strong threat.
- Enough healing coverage for tanks and players taking environmental damage.
- Ranged DPS capable of maintaining damage while repositioning.
- Melee players who can immediately disengage when necessary.
- Players with strong personal awareness and movement discipline.
The fight is generally not lost because the raid brought the wrong class. It is much more commonly lost because players fail to move away from dangerous mechanics or continue attacking when survival should be the priority.
Phase One: Tanking Supremus
During the first phase, Supremus behaves more like a traditional raid boss. Tanks establish control while DPS maintains steady pressure and healers stabilize incoming damage.
The objective is to create a predictable encounter environment before the movement phase begins.
Tank Positioning
The main tank should position Supremus where melee players have enough room to attack without forcing the rest of the raid into a crowded area.
Unnecessary boss movement should be avoided. Every time the boss changes position, melee players lose uptime and healers may need to reposition.
Stable positioning also makes the transition into the next phase easier because players know approximately where Supremus will begin moving from.
Threat Management
Tanks should establish strong threat early. DPS players should avoid immediately opening with every available cooldown before threat is secure.
The encounter is long enough that losing several seconds at the beginning is considerably less damaging than creating a threat problem that forces the raid to recover.
Melee players in particular should remain aware of threat during the controlled phase.
Phase Two: Supremus Gaze and Movement
The second phase is what defines the Supremus encounter.
During this portion of the fight, Supremus focuses on different raid members and moves toward his target. The affected player needs to create distance while the rest of the raid avoids both the boss and the environmental hazards appearing throughout the area.
This phase should be treated as a survival test rather than a competition for maximum DPS.
If Supremus Targets You
If Supremus begins pursuing you, immediately move away from him.
Do not continue casting because you want to finish one more spell. Do not attempt to squeeze in another attack. Do not run through the raid unless absolutely necessary.
Your priority is creating safe distance while avoiding other players and environmental hazards.
A clean response is simple:
- Recognize that Supremus is pursuing you.
- Stop attacking if attacking would delay movement.
- Move away using a clear path.
- Avoid leading the boss directly through other raid members.
- Continue moving until the target changes or the phase ends.
Handling Volcanoes
Volcanoes are one of the most dangerous environmental mechanics during the Supremus encounter because players can become focused on the boss and fail to notice what is happening underneath or around them.
If dangerous ground effects appear near your position, move immediately.
Players should never assume that a healer will compensate for avoidable environmental damage. Healing resources are much more valuable when used on unavoidable damage and players handling legitimate mechanics.
Do Not Wait for the Perfect Moment to Move
A common progression mistake is delaying movement because a player wants to finish a cast or maintain their rotation.
The correct response to dangerous ground mechanics is usually immediate movement.
One cancelled spell costs very little damage. Dying removes all of your damage for the remainder of the attempt.
Molten Flame and Battlefield Awareness
Supremus can create additional fire-related hazards that make careless movement dangerous. Players should keep enough awareness of the battlefield to avoid running from one mechanic directly into another.
This is especially important during the movement phase when multiple players may be repositioning simultaneously.
Try to maintain clear movement lanes instead of following another player blindly. If several players move in exactly the same direction, a single environmental hazard can force the entire group to adjust again.
Tank Strategy for Supremus
Tanks play their most important role during the controlled phase, where stable threat and positioning allow the raid to maximize safe damage.
Tank Priorities
- Establish strong threat immediately.
- Maintain predictable boss positioning during Phase One.
- Avoid unnecessary movement.
- Communicate significant damage spikes to healers.
- Remain aware of phase transitions.
- Be ready to regain normal control when the movement phase ends.
The transition back into the tanking phase should be handled cleanly. Tanks should be prepared to re-establish the boss in the correct position while the raid returns to normal formation.
Healing Strategy for Supremus
Healing Supremus requires a balance between consistent tank coverage and reacting to players who take damage during the movement phase.
Healing During Phase One
During the controlled phase, healing assignments should remain predictable. Tank healers should maintain consistent coverage while raid healers deal with additional damage where necessary.
Healers should avoid unnecessary repositioning as long as they remain in range of their assigned targets.
Healing During Phase Two
The movement phase is significantly less predictable.
Raid members may spread across a larger area while avoiding Supremus and environmental hazards. Healers therefore need to maintain awareness of both their own positioning and the location of players who require assistance.
However, healers should not put themselves in danger to save someone standing in an obviously unsafe location.
Every player is responsible for avoiding preventable damage.
Healer Movement Tips
- Move early when environmental hazards appear.
- Avoid standing directly beside other healers when unnecessary.
- Maintain reasonable range from the raid without becoming isolated.
- Do not tunnel-vision on health bars and ignore your surroundings.
- Keep appropriate instant or mobile healing abilities available when repositioning.
Melee DPS Strategy
Melee DPS can maintain strong uptime during the tanking phase, but the encounter becomes more dangerous when Supremus begins moving.
The most important rule for melee players is knowing when to disengage.
During Phase One
- Attack from the appropriate position around the boss.
- Respect tank threat.
- Maintain your normal rotation.
- Watch for environmental hazards.
- Prepare mentally for the phase transition.
During Phase Two
Melee players should not chase Supremus blindly across the encounter area.
If attacking the boss requires moving into a dangerous position, stop attacking and wait for a safer opportunity.
Trying to maintain perfect uptime during the movement phase is one of the easiest ways for melee players to die.
Ranged DPS Strategy
Ranged DPS generally has more flexibility during the movement phase, but that advantage can create overconfidence.
Ranged players still need to move immediately when targeted or threatened by environmental mechanics.
Ranged DPS Priorities
- Maintain controlled spacing.
- Stay within reasonable healing range.
- Move immediately from dangerous ground effects.
- Do not finish long casts when Supremus is moving toward you.
- Use instant abilities while repositioning when appropriate.
- Resume sustained damage once you reach a safe position.
A ranged player who moves correctly can often continue dealing meaningful damage throughout much of the encounter without putting themselves or the raid at unnecessary risk.
Class Roles and Useful Abilities
Supremus does not demand one specific class combination, but certain types of abilities can make the encounter easier.
Movement Abilities
Abilities that improve movement can help players create distance or escape dangerous ground effects. They should be used intelligently rather than automatically whenever available.
Personal Defensive Cooldowns
Defensive abilities can provide additional protection if a player takes unexpected environmental damage or becomes caught in a dangerous situation.
They should not be treated as permission to ignore mechanics.
Healing Utility
Classes capable of supporting themselves or nearby players while moving can reduce pressure on the dedicated healing team.
Threat Tools
Threat reduction or control abilities can be useful during the tanking phase, particularly when DPS players are using major offensive cooldowns.
When Should You Use Offensive Cooldowns?
Major offensive cooldowns generally provide the most reliable value during periods where players can attack Supremus safely and consistently.
Using an important cooldown immediately before being forced to run away can significantly reduce its value.
Players should therefore consider encounter timing rather than using every ability as soon as it becomes available.
During progression, survival should remain the priority. Once the raid is comfortable with the encounter, cooldown timing can be optimized more aggressively.
Consumables for Supremus
Players should use their standard Black Temple raid consumables according to class and specialization.
Typical preparation includes:
- Appropriate flask or elixirs.
- Relevant food buffs.
- Mana or healing consumables where applicable.
- Weapon enhancements.
- Class-specific reagents.
- Useful defensive consumables when appropriate.
Supremus does not generally require an unusual consumable setup. Mechanical execution and movement are far more important than finding a special consumable solution to the fight.
Common Supremus Mistakes
Most Supremus progression problems come from avoidable mistakes rather than complicated strategy failures.
Continuing to Cast While Being Chased
If Supremus is moving toward you, creating distance is more important than finishing another spell.
Move first. Resume damage when you are safe.
Standing in Volcanoes
Environmental damage should be avoided immediately. Players repeatedly standing in dangerous areas create unnecessary healing pressure and may eventually die regardless of healer performance.
Melee Chasing the Boss
Melee players sometimes follow Supremus too aggressively during the movement phase.
If the boss changes direction or an environmental hazard appears, the player may suddenly have no safe escape path.
Poor Raid Spacing
Stacking too tightly during movement can cause several players to react to the same hazard simultaneously.
Spreading too far apart, however, can create healing-range problems.
Maintain practical spacing while keeping the raid relatively organized.
Ignoring Threat During Phase One
The movement phase receives most of the attention, but normal threat rules still matter during the controlled phase.
Allow tanks to establish control before committing maximum damage.
Watching the Boss Instead of the Ground
Players often become so focused on Supremus that they stop paying attention to their own position.
Your character's immediate surroundings are usually more important than watching the boss's animation during the movement phase.
Supremus Strategy by Role
Tanks
- Build reliable threat during the controlled phase.
- Keep Supremus positioned consistently.
- Avoid unnecessary boss movement.
- Prepare for transitions between phases.
- Coordinate defensive cooldowns with healers when necessary.
Healers
- Maintain tank coverage during Phase One.
- Watch your own positioning during Phase Two.
- Be prepared for players taking environmental damage.
- Stay within useful range of the raid without becoming isolated.
- Prioritize survival while repositioning.
Melee DPS
- Maintain strong uptime during the controlled phase.
- Respect tank threat.
- Do not chase Supremus through dangerous areas.
- Disengage when positioning becomes unsafe.
- Move immediately from environmental hazards.
Ranged DPS
- Maintain controlled spacing.
- Use movement-friendly abilities while repositioning.
- Immediately create distance if targeted.
- Avoid volcanoes and other dangerous ground effects.
- Resume normal damage once safe positioning is restored.
How Difficult Is Supremus?
Supremus is generally considered one of the more manageable early Black Temple encounters once players understand the movement phase.
The boss does not require the same level of individual mechanical execution found later against Teron Gorefiend or the complex multi-role coordination required for encounters such as Illidari Council.
However, Supremus punishes players who prioritize damage over survival.
A raid with moderate damage and excellent movement can defeat the boss consistently. A raid with exceptional theoretical damage but poor environmental awareness may struggle much more than expected.
How to Improve Supremus Progression
If your group is wiping repeatedly, identify exactly what is killing players before changing raid composition or strategy.
Review questions such as:
- Are players dying to avoidable environmental damage?
- Are targeted players moving immediately?
- Are melee players chasing the boss too aggressively?
- Are healers becoming isolated during the movement phase?
- Is tank threat stable during Phase One?
- Are players using defensive abilities when genuinely necessary?
If most deaths come from volcanoes or poor movement, adding more healing will not solve the real problem.
Correct the mechanic first.
Supremus Quick Strategy Summary
Before pulling Supremus, remember these core rules:
- Maintain stable tank positioning during Phase One.
- Respect tank threat before using maximum DPS.
- Recognize the transition into the movement phase.
- If Supremus pursues you, move immediately.
- Never sacrifice survival to finish one extra attack or spell.
- Move out of volcanoes and dangerous ground effects immediately.
- Melee players should not blindly chase the boss.
- Healers must watch their own positioning while maintaining raid coverage.
- Return to organized positions when the controlled phase begins again.
Defeating Supremus Consistently
Supremus becomes a reliable Black Temple kill when the raid stops treating every second of the encounter as a DPS race. The tanking phase provides opportunities for controlled damage, while the movement phase tests whether players can recognize danger and react without hesitation.
Stable tank positioning, disciplined threat management, smart healer movement, and immediate reactions to environmental mechanics are more important than trying to maintain perfect damage uptime.
Once the raid learns to transition cleanly between the two phases, Supremus becomes considerably more predictable and opens the path toward the deeper and more mechanically demanding encounters inside Black Temple.
For the complete raid progression path, preparation requirements, class roles, boss strategies, and broader Black Temple planning, continue with our Ultimate Black Temple Guide for WoW TBC.
```


There are no approved comments yet. Be the first to leave one.