
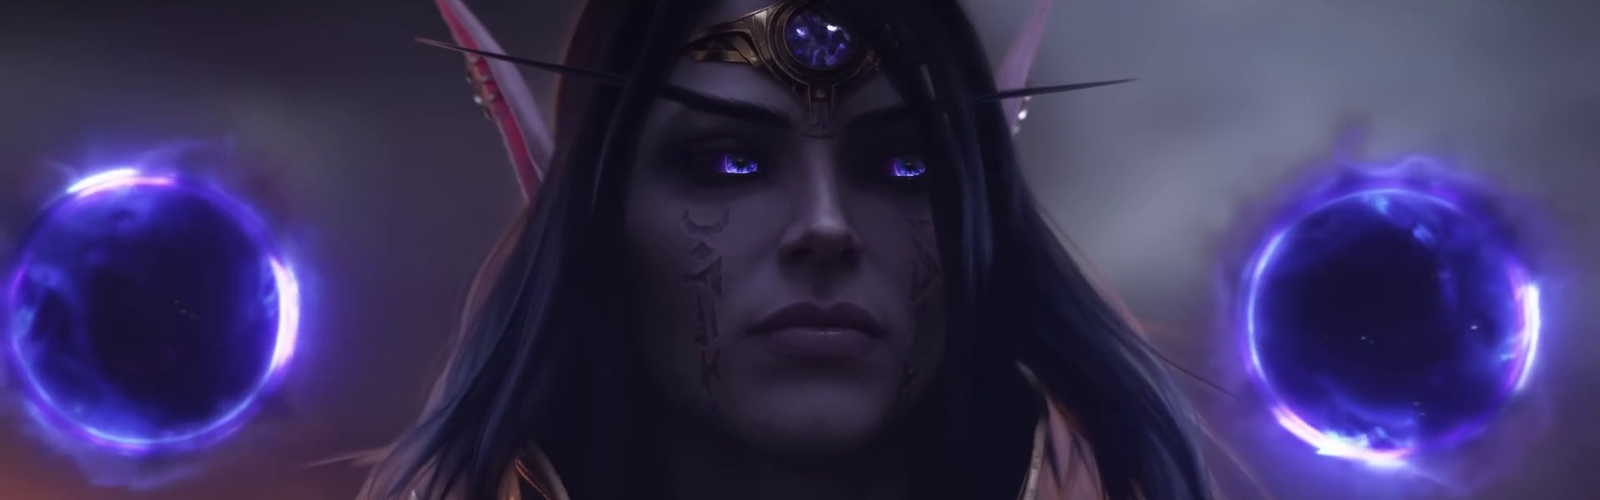
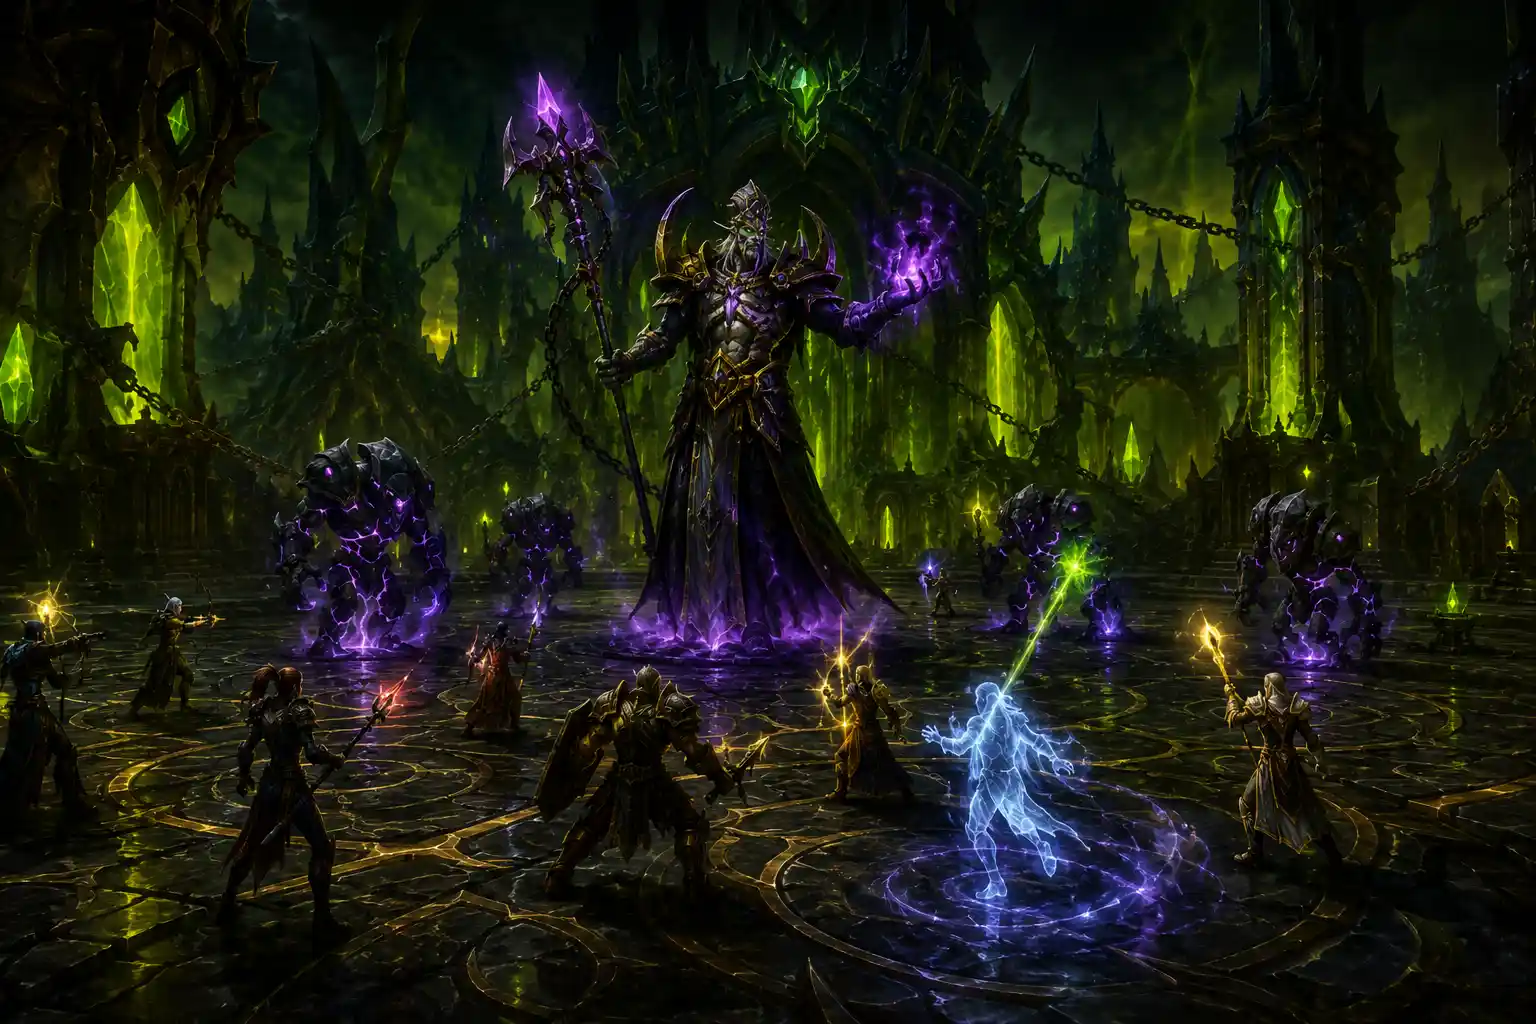
Teron Gorefiend is one of the most memorable encounters in Black Temple because success depends on more than normal tanking, healing, and DPS. The fight introduces Shadow of Death, a unique mechanic that temporarily removes a player from their normal role and forces them to control a Vengeful Spirit to destroy incoming Shadowy Constructs.
For many progression groups, Teron Gorefiend becomes the first Black Temple encounter where one player's mechanical execution can determine whether an otherwise successful attempt continues or collapses. This guide explains the encounter mechanics, positioning, Shadow of Death strategy, ghost abilities, tanking, healing, DPS responsibilities, consumables, and common mistakes. For preparation, raid composition, boss progression, and strategies covering the rest of the instance, see our complete Black Temple guide for WoW TBC.
Teron Gorefiend Encounter Overview
Teron Gorefiend is primarily a single-phase encounter. The boss itself remains relatively straightforward from a tanking and DPS perspective, but Shadow of Death repeatedly forces individual raid members to perform a completely different task.
The encounter can be divided into two simultaneous responsibilities:
- The living raid continues tanking, healing, dispelling, and damaging Teron Gorefiend.
- Players affected by Shadow of Death prepare to become ghosts and eliminate their Shadowy Constructs before they reach the raid.
If both groups perform their jobs correctly, the fight becomes predictable. If even one set of constructs reaches the main raid, however, the situation can quickly become extremely difficult to recover.
Recommended Positioning for Teron Gorefiend
Positioning is designed primarily around giving players affected by Shadow of Death as much time as possible to deal with their constructs.
Teron should normally remain in a stable position rather than being moved around the encounter area unnecessarily. The main raid can stay relatively grouped, while players targeted by Shadow of Death move away from everyone else before the debuff expires.
This creates a long path between the newly spawned constructs and the living raid.
Basic Positioning Plan
- Keep Teron Gorefiend in a consistent tanking position.
- Keep most of the living raid together at a safe distance.
- Players affected by Shadow of Death move toward a designated far corner.
- Do not wait until the final second before moving into position.
- Leave enough room so multiple Shadow of Death players can perform the mechanic without interfering with one another.
Good positioning effectively gives ghost players more time to destroy their constructs, making the most dangerous mechanic considerably easier.
Shadow of Death Explained
Shadow of Death is the defining mechanic of the encounter.
Teron periodically targets a raid member other than the main tank. The affected player receives a debuff that eventually kills them and transforms them into a Vengeful Spirit.
At the same time, four Shadowy Constructs appear and begin moving toward the living raid.
The transformed player receives a completely new set of abilities that can interact with these constructs. Their primary responsibility is simple:
Destroy all four constructs before they reach the raid.
This mechanic should be understood by every eligible player before the pull begins. You cannot build a reliable strategy around hoping Shadow of Death only targets players who already know what to do.
What to Do When You Get Shadow of Death
The moment you receive Shadow of Death, remain calm and prepare for the transition.
You still have time before becoming a ghost, so there is no need to immediately abandon everything and run across the room.
A practical sequence is:
- Recognize that you have Shadow of Death.
- Continue contributing briefly while monitoring the debuff timer.
- Move toward the predetermined ghost position before the debuff expires.
- Make sure you are away from the main raid.
- When transformed, immediately locate your four Shadowy Constructs.
- Begin your ghost ability sequence without hesitation.
The worst mistake is realizing too late that you were targeted and dying beside the main raid. This dramatically reduces the distance the constructs need to travel and gives you far less time to eliminate them.
Vengeful Spirit Abilities
When Shadow of Death transforms you into a Vengeful Spirit, your normal class rotation temporarily becomes irrelevant. Your new abilities are designed specifically to control and kill Shadowy Constructs.
The most important abilities are Spirit Volley, Spirit Chains, and Spirit Lance.
Spirit Volley
Spirit Volley damages nearby Shadowy Constructs simultaneously.
Because four constructs spawn together, using this ability while they are grouped provides excellent value and helps reduce all of their health at the same time.
Spirit Chains
Spirit Chains temporarily stops nearby constructs from advancing.
This is one of your most valuable abilities because every second the constructs spend controlled gives you additional time to damage them before they reach the living raid.
Spirit Lance
Spirit Lance damages and slows an individual construct.
Use it repeatedly while your stronger area abilities are unavailable. Rotating Spirit Lance between targets allows you to maintain control and continue reducing their health.
Spirit Strike
Spirit Strike can be used against Teron Gorefiend after your immediate construct responsibility is under control.
Your first priority should always remain the Shadowy Constructs. Extra boss assistance provides no value if the constructs reach the living raid and destroy the attempt.
Spirit Shield
Spirit Shield can provide additional defensive support to a living raid member.
Again, use secondary ghost abilities only after your constructs have been safely handled.
Recommended Ghost Ability Sequence
A simple and repeatable sequence is much better than improvising every time you become a ghost.
A practical approach is:
- Position yourself close enough to affect all four constructs.
- Use Spirit Volley.
- Immediately use Spirit Chains.
- Begin rotating Spirit Lance between individual constructs.
- Continue moving with the pack while keeping them grouped.
- Use Spirit Volley and Spirit Chains again when available.
- Finish remaining constructs with Spirit Lance.
The exact rhythm becomes easier with practice. What matters is combining area damage, crowd control, and single-target slows instead of repeatedly attacking one construct while the others freely move toward the raid.
Do Not Tunnel One Shadowy Construct
A common mistake is selecting one construct and attacking it until it dies.
This may eliminate one enemy quickly, but the other three continue moving.
Your goal is controlling the entire group.
Use Spirit Chains and Spirit Volley while the constructs remain close together, then rotate Spirit Lance between them so that multiple targets remain slowed.
The mechanic rewards control and multitarget awareness rather than traditional single-target DPS.
Practice the Ghost Mechanic Before Progression
Shadow of Death feels much easier when players already understand the temporary action bar before experiencing it during a real raid attempt.
Every player who can potentially receive the mechanic should understand:
- Which ability damages multiple constructs.
- Which ability controls the entire pack.
- Which ability slows an individual construct.
- The order in which abilities should generally be used.
- Where to position before becoming a ghost.
The first time a player sees the abilities should ideally not be during an otherwise successful progression attempt.
Tank Strategy for Teron Gorefiend
Teron Gorefiend is comparatively straightforward for the main tank.
The boss should remain stable while the tank generates strong threat and mitigates incoming damage. Complicated repositioning usually creates more problems than it solves.
Main Tank Priorities
- Establish strong threat immediately.
- Maintain predictable boss positioning.
- Avoid unnecessary movement.
- Use defensive cooldowns when genuinely needed.
- Remain within reliable healing range.
Because the primary threat target is not the normal Shadow of Death target, the main tank can concentrate on maintaining a stable boss position while the rest of the raid handles the encounter mechanics.
What Should Additional Tanks Do?
Teron Gorefiend does not require a complicated multi-tank strategy.
Players who normally fill secondary tank roles may be able to contribute through damage or other useful raid responsibilities depending on their class and the group's setup.
Raid leaders should avoid bringing unnecessary defensive roles if those players can provide significantly more value elsewhere during this particular encounter.
Healing Strategy for Teron Gorefiend
The healing team has two primary responsibilities: maintain the main tank and stabilize random raid damage caused by Teron's abilities.
The encounter contains consistent incidental damage, so healers need to avoid focusing exclusively on the tank.
Tank Healing
The main tank should receive reliable coverage throughout the entire fight.
Because Teron's positioning remains relatively stable, tank healing should be predictable compared with many movement-heavy Black Temple encounters.
Raid Healing
Raid members can take damage from abilities such as Incinerate and the Shadow damage associated with Doom Blossoms.
Healers should monitor players affected by Crushing Shadows carefully because increased Shadow damage can make otherwise manageable incoming damage significantly more dangerous.
Dispel Incinerate Quickly
Incinerate causes an initial burst of Fire damage followed by a damaging magic effect.
Players capable of removing the debuff should react quickly.
Fast dispels reduce unnecessary healing pressure and allow healers to focus on damage that cannot simply be removed.
Raid leaders should establish dispel expectations before the pull instead of relying on several players assuming somebody else will handle it.
Crushing Shadows
Crushing Shadows increases the amount of Shadow damage received by affected players.
This becomes especially relevant because Doom Blossoms can repeatedly cast Shadow-based attacks at random raid members.
Healers should pay extra attention to players carrying the debuff.
The mechanic may not look dramatic visually, but ignoring it can allow normal raid damage to become unexpectedly lethal.
Doom Blossoms
Doom Blossoms appear during the fight and contribute additional Shadow damage against raid members.
The living raid does not need to build an overly complicated strategy around them, but healers should account for the constant background damage they create.
Players affected by Crushing Shadows are particularly vulnerable and may require faster healing responses.
Melee DPS Strategy
Outside of Shadow of Death, melee players have a relatively straightforward responsibility: maintain strong damage while respecting threat and reacting correctly if selected for the encounter's main mechanic.
Melee Priorities
- Allow the tank to establish reliable threat.
- Maintain normal damage uptime.
- Watch for Shadow of Death.
- If targeted, prepare to leave the raid at the correct time.
- Do not allow personal DPS numbers to distract from the ghost mechanic.
Teron rewards strong sustained damage, but mechanical failure remains far more damaging than losing several seconds of uptime while preparing for Shadow of Death.
Ranged DPS Strategy
Ranged players should remain grouped according to the raid's positioning plan while dealing consistent damage.
Ranged Priorities
- Maintain strong sustained damage.
- Stay within healing range.
- Recognize Shadow of Death immediately.
- Move to the designated ghost area before transformation.
- Return attention to the boss only after ghost responsibilities are complete.
The normal DPS portion of this encounter is not mechanically complicated, so ranged players should focus on clean execution and maximizing uptime without compromising Shadow of Death preparation.
Shadow of Death Role Assignments
You cannot decide in advance exactly which eligible player will receive every Shadow of Death, but you can standardize how everyone responds.
Before pulling, define:
- Which corner or area Shadow of Death players should use.
- When the player should leave the main raid.
- How players should announce that they received the mechanic.
- Which ghost ability sequence everyone should follow.
- How additional ghost players avoid interfering with each other.
The objective is making the mechanic feel routine regardless of which player receives it.
What Happens If Shadowy Constructs Reach the Raid?
Shadowy Constructs become extremely dangerous once they reach living players.
Normal raid members cannot simply switch targets and solve the problem in the same way they would handle regular adds. The ghost mechanic exists specifically to prevent the constructs from reaching the group.
Healers may temporarily keep affected players alive, but this is not a reliable recovery strategy.
If constructs repeatedly reach the raid, the group should focus on improving ghost execution rather than adding more healing.
Consumables for Teron Gorefiend
Players should arrive with their normal Black Temple raid consumables appropriate for their class and specialization.
Useful preparation generally includes:
- Appropriate flask or elixir combinations.
- Food buffs.
- Mana or healing consumables where relevant.
- Weapon enhancements.
- Required class reagents.
- Useful personal defensive consumables.
Shadow-related raid damage is an important part of the encounter, but no consumable can replace correctly executing Shadow of Death.
Preparation should support the strategy, not attempt to compensate for ignored mechanics.
Raid Composition for Teron Gorefiend
Teron does not require one rigid class composition.
A strong setup should provide:
- A reliable main tank.
- Enough healing to cover tank and random raid damage.
- Fast magic dispels for Incinerate.
- Strong sustained DPS.
- Players capable of learning the Shadow of Death mechanic.
Individual execution is generally more important than attempting to design a perfect roster specifically for Teron.
Should You Stack or Spread?
Unlike many raid encounters, Teron Gorefiend does not require the entire raid to spread widely around the room.
Keeping players relatively grouped can improve healing efficiency and make positioning more predictable.
The major exception is the player preparing to die from Shadow of Death. That player should move away from the main raid before transformation so the Shadowy Constructs spawn as far from living players as practical.
Common Teron Gorefiend Mistakes
Dying Too Close to the Raid
This dramatically shortens the distance between Shadowy Constructs and living players.
Move toward the designated ghost location before Shadow of Death expires.
Not Knowing the Ghost Abilities
Players who spend several seconds reading abilities after transforming lose valuable control time.
Understand Spirit Volley, Spirit Chains, and Spirit Lance before progression begins.
Only Attacking One Construct
The mechanic involves controlling four enemies simultaneously.
Rotate Spirit Lance and use your area abilities while the group remains together.
Using Spirit Chains Too Late
Allowing the constructs to travel significant distance before controlling them wastes one of your biggest advantages.
Use crowd control early and continue managing the group as abilities become available again.
Ignoring Incinerate Dispels
Leaving the damaging debuff active creates avoidable healing pressure.
Players responsible for magic dispels should react quickly.
Ignoring Crushing Shadows
A player taking increased Shadow damage may suddenly become much more vulnerable to Doom Blossom attacks.
Healers should recognize the additional risk.
Focusing Too Much on DPS Meters
Teron can punish even a very high-DPS raid if players fail Shadow of Death.
Mechanics always come first.
Teron Gorefiend Strategy by Role
Main Tank
- Establish strong threat.
- Keep Teron in a stable position.
- Avoid unnecessary movement.
- Coordinate defensive cooldowns with healers.
Healers
- Maintain reliable main-tank coverage.
- Heal random raid damage from Teron's abilities.
- Dispel Incinerate quickly when your class can do so.
- Watch Crushing Shadows targets carefully.
- Do not expect healing to compensate for failed Shadowy Constructs.
DPS
- Maintain strong sustained boss damage.
- Respect tank threat.
- React immediately when Shadow of Death targets you.
- Move to the designated ghost position before transformation.
- Know the Vengeful Spirit ability sequence before the pull.
Shadow of Death Quick Checklist
If you receive Shadow of Death, remember:
- Do not panic.
- Watch the remaining debuff duration.
- Move away from the main raid before dying.
- Locate all four Shadowy Constructs immediately.
- Use Spirit Volley while they are grouped.
- Use Spirit Chains to stop their movement.
- Rotate Spirit Lance between constructs.
- Repeat your control abilities when available.
- Do not allow constructs to reach living players.
- Only use secondary ghost abilities after your constructs are safely handled.
How Difficult Is Teron Gorefiend?
Teron Gorefiend is unusual because the encounter can feel easy for most of the raid while being extremely demanding for whichever player receives Shadow of Death.
The tanking portion is relatively straightforward, normal DPS players have high boss uptime, and healers primarily manage tank damage and predictable random raid damage.
The difficulty comes from individual responsibility.
A player who performs the ghost mechanic correctly may make the encounter look simple. A player who does not understand the temporary abilities can allow several Shadowy Constructs to reach the raid and turn a strong attempt into a wipe.
How to Improve Teron Gorefiend Progression
If your raid is struggling, identify whether the problem is actually boss damage or Shadow of Death execution.
Review each failed attempt:
- Did the affected player reach the correct ghost position?
- Were all four constructs controlled immediately?
- Was Spirit Chains used effectively?
- Were Spirit Lances rotated between targets?
- Did constructs reach the living raid?
- Were Incinerate effects dispelled quickly?
- Were Crushing Shadows targets receiving enough healing?
- Was tank threat or tank survival actually a problem?
This approach prevents the raid from changing unrelated parts of the strategy when one specific mechanic is causing the wipes.
Teron Gorefiend Quick Strategy Summary
Before pulling Teron, remember the core strategy:
- Keep the boss in a stable tanking position.
- Keep the living raid relatively grouped.
- Maintain fast dispels on Incinerate.
- Watch players affected by Crushing Shadows.
- Shadow of Death players move away before transformation.
- Ghost players immediately control all four Shadowy Constructs.
- Use Spirit Volley and Spirit Chains while enemies are grouped.
- Rotate Spirit Lance between constructs.
- Do not allow constructs to reach the main raid.
- Prioritize correct execution over personal damage numbers.
Defeating Teron Gorefiend Consistently
Teron Gorefiend becomes much easier once every raid member understands that Shadow of Death is not a mechanic reserved for a few selected players. Almost anyone may be required to execute the ghost phase, which means everyone should arrive prepared.
The living raid's responsibilities are relatively controlled: stable tanking, strong sustained damage, quick Incinerate dispels, and reliable healing. The real progression test is whether every Shadow of Death player can move into position, transform, control four Shadowy Constructs, and eliminate them before they threaten the group.
Once that process becomes routine, Teron changes from an unpredictable progression wall into a consistent Black Temple kill.
For the complete Black Temple progression path, raid preparation, class setup, boss order, and strategies for the encounters surrounding Teron Gorefiend, continue with our Ultimate Black Temple Guide for WoW TBC.
There are no approved comments yet. Be the first to leave one.